Showing posts with label wedding. Show all posts

Wednesday, August 7, 2013

A Syncopated Wedding Part IV: The Details


Hello!  Sorry for the delay in posting.  I've been busy not doing much of anything except relaxing and trying to soak up every last bit of summer.  I hope you've been doing the same.  I know we've moved into a new month, but I'm back to share the last details of our wedding two years ago.  First up is the cakes!  My favorite part.  I decided to go with 5 different flavored cakes.  They were made by a local woman who bakes them in her home.  They were even better than I thought they would be!


Our two-tiered cake was vanilla cake with a raspberry filling and buttercream icing.  My dad made the wooden stands.  The clay, bird cake toppers are from a seller on Etsy.


We had labels for each cake.  Our guests went through the line like a buffet.  We made sure to have enough cake so that guests could try all of the different flavors.


Weird faces.  We were eating cake!


The wedding party.  My sisters were my matrons of honor, and my niece was my flower girl.  Mark chose his brother to be his best man and his good friend as a groomsman.  Our ring bearer was my husband's nephew.  The men wore gray suits with pinstripes.  The ladies wore short, plum-colored dresses.


Our get-away car was a Pontiac Firebird.  It's owned by a friend of the family who graciously agreed to clean her up for our big day.  It was a sweet ride!


We decorated the tent with Japanese lanterns.  I ordered gold chargers from The Christmas Tree Shop.  That's where I found the best deal.  I think the chargers made the tables look just a little bit more formal.  Our favors were handmade soaps made in my hometown.  The boxes were tied with a raffia ribbon.  There was a "thank you" tag with our signature mum clip art coordinated with the wedding stationery.  

My sister made this banner to hang on the head table.  We added some wooden stands with candles, and orchids are strewn around the table for color.


We used an old ladder to hang the place cards.  Since we had a small wedding, I didn't think it was necessary to have a place card for each person.  We had one card for each table.

I think that just about covers it.  Thanks for tuning in for all of these details.  I hope you've enjoyed the look into our big day.


Monday, July 15, 2013

A Syncopated Wedding Part III: Jacob's Resting Place


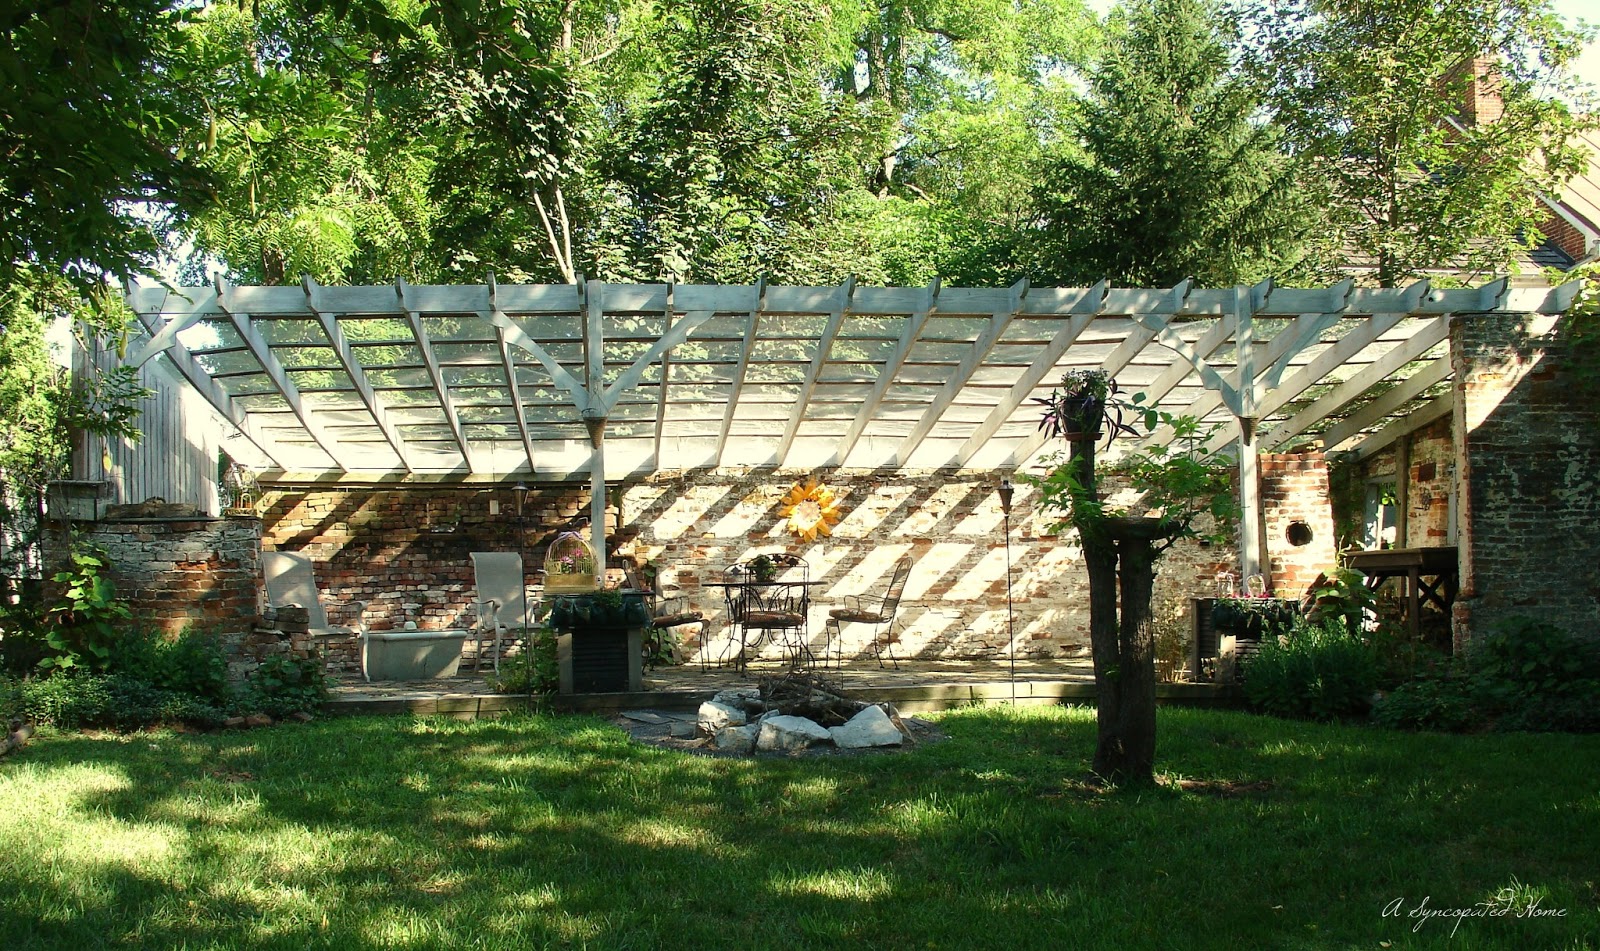
Tomorrow is the big day!  It's our 2nd anniversary.  We're heading off on a mini vacation to a bed and breakfast.  I'm really looking forward to it.  Before we go I thought I'd share some of pictures of our reception site.  We had our ceremony at our church and our reception at Jacob's Resting Place.  It's a bed and breakfast in Carlisle, PA.  When I saw this place, I knew it was perfect for our reception.  It has a huge patio where he had appetizers, our introductions, cake, and dancing.  More on the cake next week.


Jacob's Resting Place has so many unique places.  Our guests could wander around and have fun exploring the grounds.  We put up a tent in the grass to have dinner.  The tent we rented was being cleaned so the owner of the company asked if we minded have this larger tent with windows at no additional cost.  Sure!


LeTort Creek runs behind the house.


One of the perks of having your wedding at a bed and breakfast is . . . breakfast!  I stayed at Jacob's the night before the wedding and that night of the wedding, along with some of my friends and family.  I was able to get up early and get started on some of the final details and have a delicious breakfast that day.


Breakfast started with fresh fruit and then we had the main course.  This is Jacob's Pillow.  It's like  an egg muffin with a cream sauce.  Delicious!


Thanks again to my sister, my mom, and my sister-in-law for all of the pictures.  Happy Anniversary, Honey!

Finally, I'd like to update a previous post.  Last week I posted a recipe for a lavender margarita.  It started with lavender simple syrup.  I mentioned that I would be using the remaining simple syrup to make lavender lemonade for a picnic we were having (of which I didn't take one picture!).  The lemonade was great!  After doing some research, I found that a 1:1 ratio of fresh lemon juice to sugar (simple syrup in this case) works well.  Then add four cups of water.  The lemonade was a hit.  It was gone before I knew it.  I'm sorry I don't have any pictures to share.  I was just too busy!  Have a great week!

Monday, July 8, 2013

A Syncopated Wedding Part II: Stationery


Making your own stationery is a great option for your wedding or event if you have the time and the inclination.  It may or may not save you money.  That all depends on what you want and how complicated you want your design to be.  I had a very specific idea of what I wanted in my wedding invitations.  I didn't save money by making my own invitations, but I did get everything perfectly coordinated and exactly the way I wanted it.  It was definitely a learning process, but I think it was totally worth it!  Let me just be perfectly honest with you.  I spent hours upon hours working on these invitations.  If you are going to tackle this project, be willing to invest a lot of time.

My stationery package consisted of wedding invitations, wedding programs, wish cards, table numbers, cake labels, escort cards, thank you cards, envelope liners, tags for thank you gifts, and other things here and there.  Wow!  Typing it all out really makes it seem like a lot of work.  I can hardly believe I did all of that.  Once I decided on my basic design, the small things were fairly easy to do.  The first and most difficult part was deciding on the design.  I had to choose the clip art, decide how I wanted the clip art to look on the page (I think I had about 5 versions), choose the fonts, choose the font colors, arrange the text on the page, choose the fonts sizes. . .I could go on.  There are hundreds of options.  At some point you have to just choose something and go for it!

First I'll show you the invitations.


On the top left is the folder the invitation was packaged  in.  That's what it looks like closed.  To the right you'll see the coordinating thank you card I made to use after the wedding.  I ordered a custom stamp from Etsy to use for the return address for the reply card and for the thank you cards.  I blurred our address in the picture, so it looks a little funny.  On the bottom you'll see the open folder.  The invitation is on the left.  To the right in the information about the reception and the reply card.


Here's a closer view of the "celebrate" page and the reply.  You can see that I designed the reply card to be filled out horizontally, but when it stands up in the folder, you can see the RSVP date (see picture above).


In the picture above you can see the cake label.  We opted to have five smaller cakes instead of one big wedding cake.  They were all different flavors.  More on that coming soon.  Beside that is the "escort card."  We really didn't have escort cards.  I made one card for each table.  Below that is a "wish card."  Each guest wrote a wish for us to hang on a wish tree.  Beside that is a table number.

wedding program


inside the wedding program


There you have it.  If you'd like any information on exactly how I put put everything together feel free to comment below!

Sources
Style on a Budget: Pocket folders and paper
TracyAnnDigitalArt:  Clipart
Lovetocreatestamps: Custom stamps
Nashville Wraps: Raffia for the folders, programs and various wedding related crafts

Linking up at Still Being Molly,  Liz Marie Blog and Tatertots and Jello.

Monday, July 1, 2013

A Syncopated Wedding Part I: Wedding Flowers


Today we enter the month of July.  It is not particularly hot here in Central PA, but it is so humid.  I guess it's going to stick around for a few days, so I better get used to it!  July is the month that I got married!  On July 16 it will be two years.  To celebrate, I'll be sharing some of the details of my wedding throughout the month.


First I'm going to highlight the wedding flowers. I ordered all of the flowers in bulk from Sams Club.  They came on a Thursday in boxes.  It took me about two hours to get all of the flowers out of the boxes, give the stems a fresh cut and put them in water.  On Friday, my sister and a friend arranged all of the flowers.  They worked really hard all day, and the flowers looked beautiful.


Ordering the flowers in bulk is a great option if you want to arrange the flowers yourself or if you have someone to do that for you.  We had so many flowers.  When my sister was finished with the bridal flowers, she just started looking for any vases we had in the house to put flowers in.  We didn't want to waste any.


The picture above is my bouquet.  It has blue hydrangeas, orchids, delphinium, lavender roses, white roses, gooseneck loosestrife, purple tulips, and dark purple calla lilies.  I loved my bouquet.  Another great tip is to check your local grocery stores in the weeks before the wedding.  I noticed that my local store was carrying calla lilies, so I bought a small bunch for my bouquet to make it a little more special.  I bought some filler greenery at the grocery store too.


This is the bridesmaid bouquet.  It was similar to mine, but slightly smaller.  I think the eucalyptus.  really set the bridesmaid bouquets apart from the bridal bouquet.


We had enough flowers for the arrangements at the front of the church and all of the windows in the church.


Since we were doing so much with the other flowers in the wedding, I wanted to keep the centerpieces simple.  They consisted of three vases with stones at the bottom, one orchid in each one and a floating candle on the top.


Did you DIY anything for your wedding?  I'd love to hear about it.  Leave it in the comments below.  I'll be sharing more details as the month goes on.  I hope you'll check back!

Special thanks to my sisters and sister-in-law for taking all of these pictures on the big day!