Sunday, September 8, 2013

Keister Kampout Part I: Glamping


I can't believe I haven't posted anything in September yet!  It's been a busy start to the school year. Today I'm here to share my first attempt at "glamping" with you.  Ever since I heard the term glamping,and more importantly found all of the amazingly cute pictures on Pinterest, I've wanted to try it.

I guess I'm getting ahead of myself.  You're probably wondering what the "Keister Kampout" is.  Keister is my maiden name (insert joke here).  For the past seven years or so my family gets together on Labor Day weekend to camp at my parents' house.  They live on about thirty acres of land that includes a few ponds, a small orchard, and a nice camp site.  We camp close enough to the house that we usually make one last trip to the house to use the bathroom at night, but if you have to go in the middle of the night, it's a little too far.  I'll post more details on the camp out later this week.  


Back to glamping.  Most of the information and pictures I've found on the subject are either from high end camp sites or were created for photo shoots.  You can check out some of the pictures I've found on this board on pinterest.  I've love to see some real-life glamping photos.  If you know of any, please let me know!

I only had to buy a few things for this glamping experience.  The first thing I knew we needed was an air mattress.  My husband and I were the only couple at the camp out without one.  We chose a double high air mattress so it would be more "bed-like."  I bought a pack of battery operated votive candles and the little red side table.  I had all of the other things on hand.  


Here are a few tips if you'd like to try glamping for yourself.

1.  Don't go out and buy a lot of extra things.  Use what you have.

2.  Do bring lots of pillows.  It makes it feel more like home.  I love to store all of my bedding in the bags that the bedding comes in.  Space bags are good too.  They keep your bedding and pillows nice and clean when you travel.

3.  Lighting.  Bring lanterns if you have them.  Make sure to use the battery operated votives inside the tent.  Consider using citronella candles outside the tent to keep the bugs away.  Use garden plant stand holders to hang the lanterns and create a nice entrance to your tent.  Don't forget a chandelier for your tent.  This is especially handy as you can turn it on and get ready for bed.  That way you can avoid the trying to hold the flashlight as you look for your toothbrush in your bag.  My chandelier was the one I used outside in the gravel patio.  It was made out of a hanging planter with a tap light, beads from the dollar store, and spray paint.


4. Bring some sort of floor covering.  I had these colorful rag rugs from a previous project.  You just could bring a welcome mat or a small area rug.  You can always find inexpensive rugs at places like Ross and TJ Maxx.  


5.  Skip the sleeping bags and go with a set of sheets and a comforter.  I don't know about you, but I never get a good night's sleep in a sleeping bag.  I brought a comforter to use, but it was so hot and humid last weekend I didn't put it on the bed.  Don't forget a blanket!  If you are afraid you'll get cold without the sleeping bag, bring lots of blankets.  I didn't use the comforter, but I did use the blanket at the bottom of the bed.

6.  Use a side table!  It was so handy to have the little lantern beside the bed and a place to put my glasses. I didn't have to worry I'd step on them if I had to get up in the middle of the night.  I got this cute little red side table at Kmart.    


7.  Decorate your tent a little bit.  I used paper lanterns that I made for a party I hosted this summer.  Not much extra work at all!  I also picked some flowers from my mom's garden to add to the tent.


Here are some shots of our tent at night.


My first attempt at glamping was a lot of fun.  I'll definitely be doing it again!  It really wasn't a lot of extra work.  There are a few improvements I'd like to make for next time.  I think I'll get another side table for the other side of the bed and get some sort of wicker chest to keep at the end of the bed.  Instead of bringing a bag, I'll pack my clothes in the chest.  I would love to have a canvas safari tent like this for my glamping excursions, but I guess I'll keep dreaming!

So what do you think?  Is glamping something you'd like to try?  If you have any ideas please share them in the comments!


Linking up at Suburbs Mama

Monday, August 26, 2013

House Tour: Gravel Patio

The gravel patio was one of the first projects I took on this summer.  We had a corner of our yard that was a little scary.  There were piles of leaves, weeds, and a lot ugly bugs!  I've been working on cleaning up the area since we've been married, but this year I finally had a vision for what the space could be.  After doing some research on Pinterest, or course, I decided to turn it into a gravel patio where we could have a fire pit.


I added some potted plants for color.


I love plants with interesting foliage.  Coleus is one of my favorites for adding to summer pots.  I also have some impatiens, caladium, and asparagus fern.  Caladium has a tuber.  I'm going to try to dig it up and save it over the winter.  I'll try to overwinter my asparagus fern too.  


Here I have a different variety of calladium with an ornamental perennial grass.  I'll stick him in the ground over the winter.  I have a spider plant with a fuchsia.


I just love the bright pink, bell-like flowers of the fuchsia.  I wish it were a perennial.  Larissa tells me I can save it over the winter.


These adirondack chairs are a great place to enjoy the fire!

I created this chandelier out of a hanging plant basket and some beads.  I spray painted them a pretty turquoise color.  The inspiration came from this website. I left it a little more open so I can add a tap light to the chandelier when it gets dark outside.

I hope you enjoyed the little tour!  Let me know what you think in the comments!

Linking up with: DIY By Design

Thursday, August 22, 2013

Scenes from Summer: Part II

Well friends, summer is coming to a close.  I thought I'd share some scenes from summer that didn't make it into an official blog post.  I hope you enjoy!


Have a great weekend!

Tuesday, August 20, 2013

Larissa's Garden

Last week I had the opportunity to briefly visit my sister.  When I say brief, I mean that I was at her house a total of about 12 hours.  In what little time I spent there, I knew I needed to take some pictures of her lovely garden to share with you!


Check out her limelight hydrangea.  It looks gorgeous.  I was thinking of getting a few, but I think this variety is a little too big for the space I need to fill.


Her shade garden looks great.  I would love to have a shade garden but I don't have the patience to cut through tree roots.


Larissa's dahlia's are beautiful.  She really take a lot of pride in them, and it shows.  They are one of her favorite flowers.


I call this her kitchen garden.  She has herbs, lettuce, and tomatoes.


Her hanging baskets are gorgeous, too.  I love the fuchsia in this basket.  She gave me a small fuchsia that I have in my a pot on my patio.


Here's a shot of the front of her house.  It's a cute little Cape Cod.


Thanks for letting me share your garden!  It looks beautiful as usual!

Saturday, August 17, 2013

Scenes from Summer: Part I

Well friends, summer is coming to a close.  I start back to work this week.  I thought I'd share some scenes from summer that didn't make it into an official blog post.  I hope you enjoy!


Enjoy the weekend!

Thursday, August 15, 2013

House Tour: Porch

Hello!  I hope you are having a fabulous week.  We had some rough weather at the beginning of the week, but today is absolutely gorgeous.  Today I'm going to begin to share our outdoor space with you.  I've decided to break it up into a few posts and the first is the porch.  It's not really a porch.  It's a breezeway that we've taken full advantage of.


I picked up this faux wicker loveseat at JC Penney last year.  It was seriously discounted.  I think it was a leftover from the previous year, and it's just the right size for this small space.  The garden stools came from Ross, as did the rug.  The rug is not an outdoor rug.  The area is covered so the rug is fine, but I think I'll go for an outdoor rug next time.

We store our grill in the breezeway, and roll it out when we cook.  The wire chairs came from my favorite local antique shop and I spray painted them mint green.  The side table came from another vintage shop.


The rattan hanging light also came from The Antique Marketplace in Lemoyne.


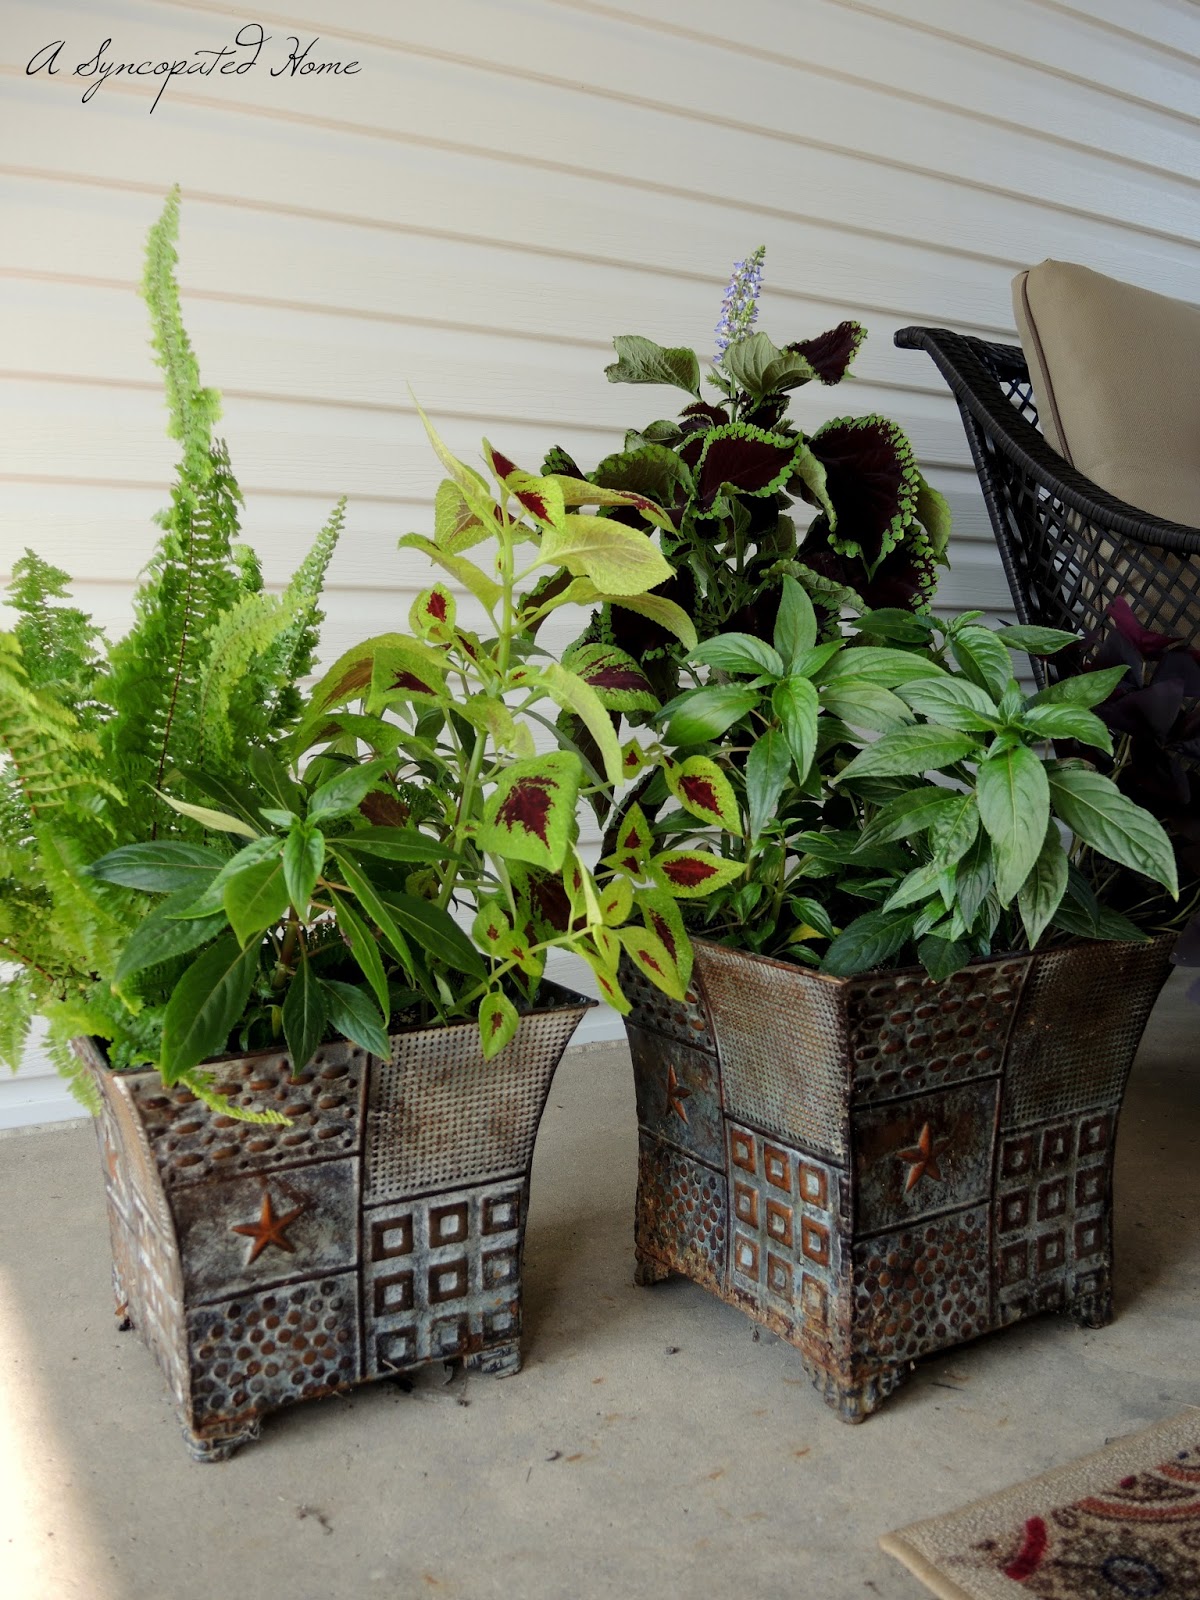
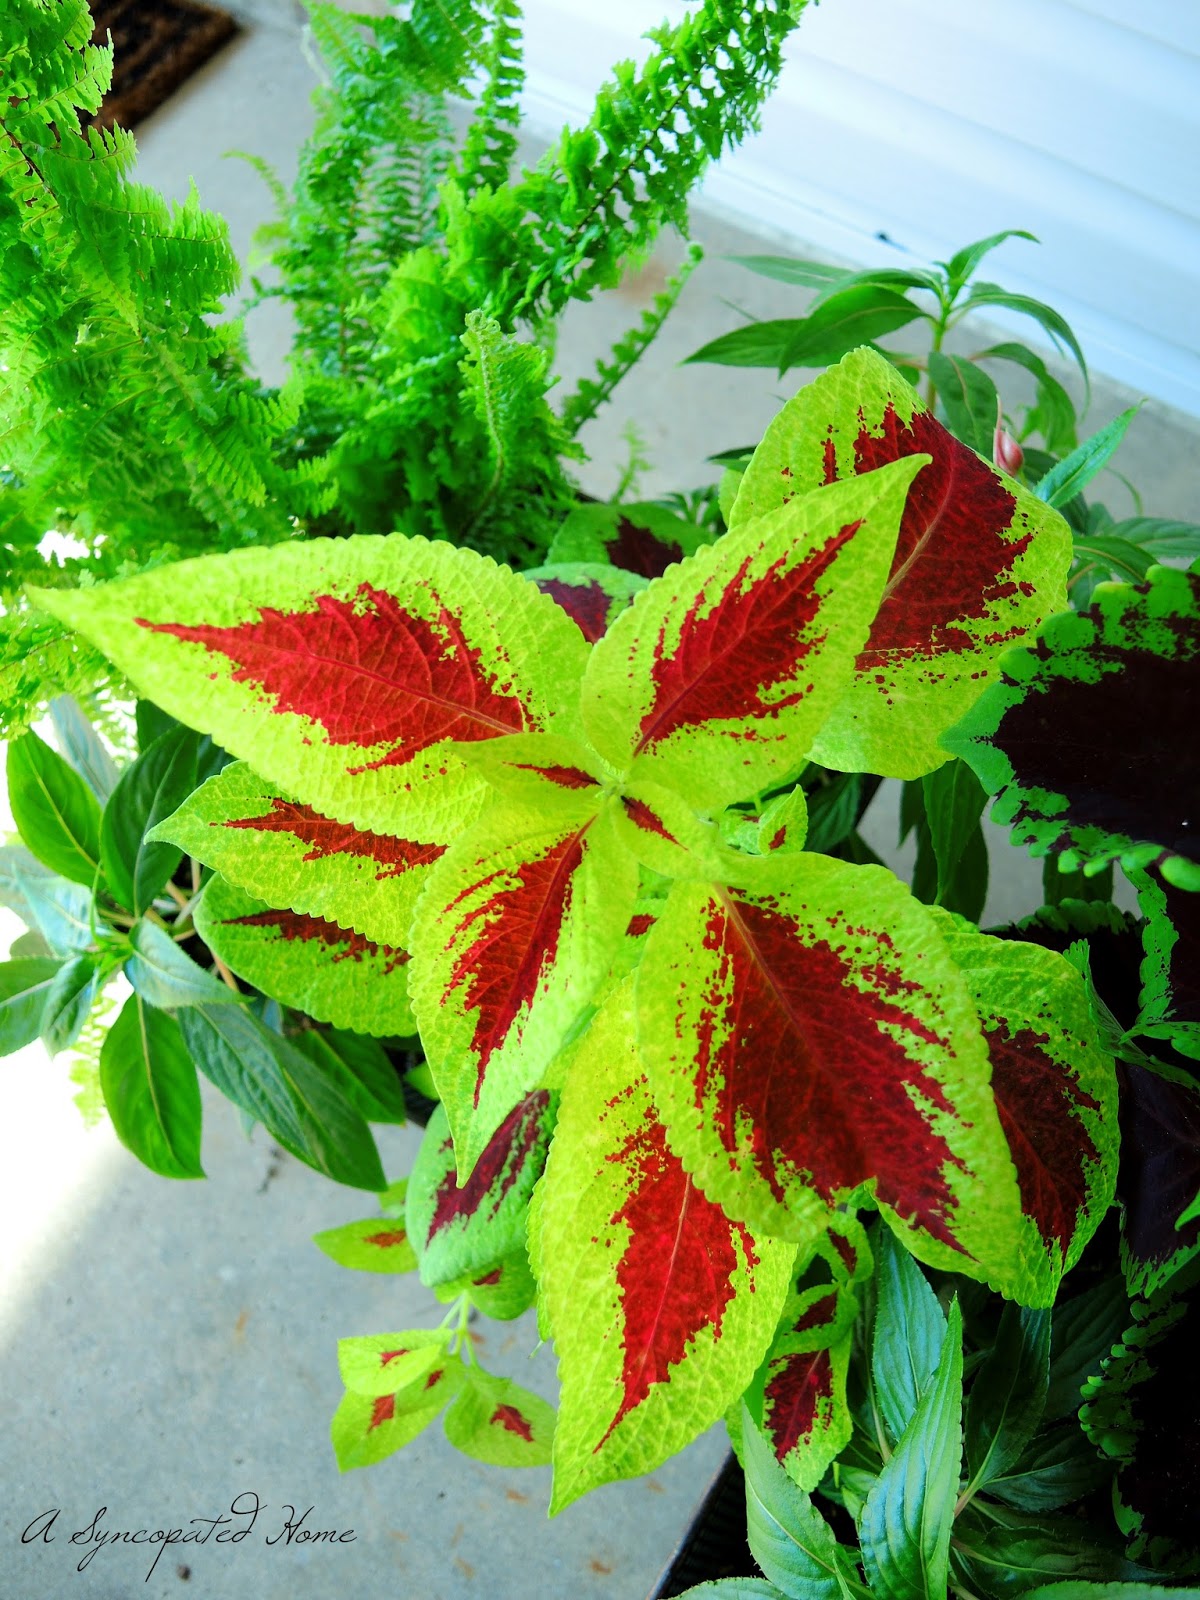
Potted plants are a great accessory to any outdoor space.  I love coleus.  I have two varieties here, as well as some impatients, oxalis, and a fern.


This wind chime is the newest addition to the porch.  I love that it hangs right outside the kitchen.  I can open a window to let some fresh air in and listen to the sound of it as it blows in the breeze.


What do you think?  Do you have a shady outdoor space you can enjoy?

Linking up: Suburbs MamaThe TablescaperFlamingo ToesNifty Thrifty ThingsDIY by Design